Why You Should Create Your Next React Web App With Firebase
May 1, 2018
Firebase is the jam. No, really. Full disclosure: I'm not a developer and I was able to setup and create a simple web app with Firebase in less than an hour. Firebase really is that easy to use.
In this tutorial, I'll save you some headaches by mentioning a few tips that aren't covered in the Firebase docs.
I make the following assumptions in this tutorial:
- You have a beginner to intermediate knowledge of ReactJs
- You are familiar with the command line interface
- NPM is installed
What is Firebase?
Are you familiar with the MCV (model-view-controller) software design pattern?
ReactJs advertises itself as just the view layer. So where do we put the app logic? Where do the model and controller layers belong?
For starters, the architects of ReactJs were being deliberately humble. ReactJs is much more than a view layer; components are incredibly powerful.
Nevertheless, if you want to create a ReactJs app that doesn't just reset every page refresh, then you need a database.
Firebase is a backend-as-a-service (BAAS). Firebase provides the backend (database and user authentication) for your app so that you can focus on the frontend aspects. This is particularly advantageous in my case because I wouldn't even know how to setup a backend for a ReactJs app.
Firebase stores your app's data as key-value pairs that are accessible with a simple API call.
Firebase Quickstart
Let's build a quick-and-dirty React app that uses Firebase as a backend.
What's the bare minimum that's needed to integrate firebase into your React app?
Rather just fiddle with a sample React Firebase project than fiddle with a tutorial? Clone this repo.
Importing Firebase
Add these lines to your component:
import firebase from 'firebase';
import reactfire from 'reactfire';
And make sure that Firebase and Reactfire are installed:
npm install firebase reactfire --saveGet Your Firebase API keys
Chances are you have a gmail account, so you don't even need to sign up for anything. Just go to firebase.google.com and click sign up.
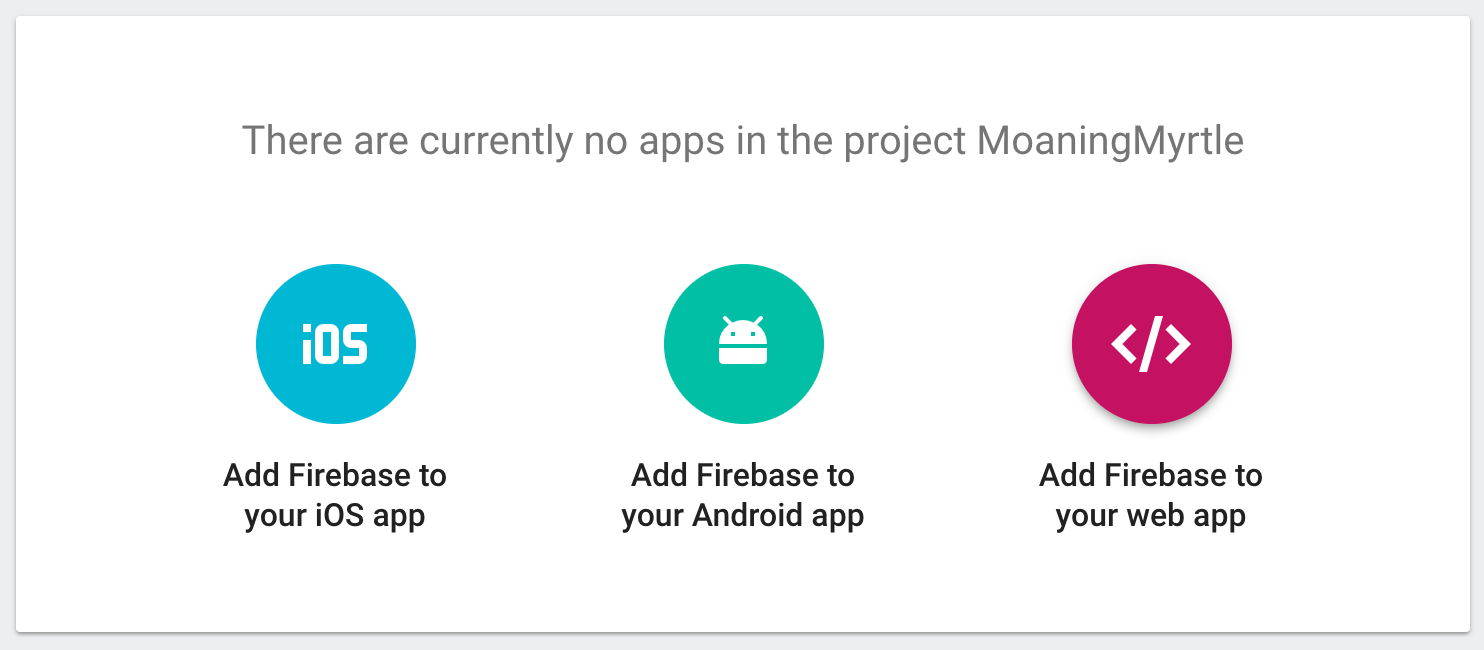
You'll be prompted to create a new project. Click "Add Firebase to your web app" and Firebase will provide you with API keys.

Great, we have our apiKey, authDomain, and databaseURL. Now what?
Configuring Firebase in ReactJs
Add this config object to your ReactJs component. Now our component looks something like:
import React from 'react';
import ReactDOM from 'react-dom';
import firebase from 'firebase';
import reactfire from 'reactfire';
 const config = {
  apiKey: "YOUR_API_KEY",
  authDomain: "YOUR_AUTH_DOMAIN",
  databaseURL: "YOUR_DATABASE_URL"
};
firebase.initializeApp(config);
class App extends React.Component {
  render() {
    return (
      <H1>Happy coding!</H1>
    );
  }
}
Note: Google will tell you to add the Reactfire and FireBase scripts to your html document when you first get your API keys. This obviously isn't necessary if you're importing these libraries at the beginning of your react component with import firebase from 'firebase'.
I omitted the storageBucket and messagingSenderId because we won't need them for this example.
What we've done so far:
- Acquired our Firebase API key and database URL
- Installed Firebase and ReactFire via NPM (
npm install firebase reactfire --save) - Initialized Firebase in our ReactJs component
Making Requests To Your Firebase Database
Pushing data to Firebase is super simple.
The code that interacts with Firebase will live in the React lifecycle component componentWillMount. Unremarkably, this function is called whenever our component will mount.
Add the following to your React component:
componentWillMount() {
    this.firebaseRef = firebase.database().ref("moaningmyrtle/items");
}
componentWillUnmount() {
    this.firebaseRef.off();
};
This code identifies the database we want to use for our app by name ("moaningmyrtle/items"). I just made this string up and Firebase automatically structured my database according to it. Here's what I mean:

Pushing Data to Firebase
Once we've setup our lifecycle components, we can push data to Firebase as follows:
pushToFirebase() {
  this.firebaseRef.push({entry: this.state.text});
}
In this situation, imagine we stored some data like a string in this.state.text. Then we called pushToFirebase() when we were ready to add data to our database.
Testing It Out
Let's test everything out by rendering a controlled input field. We'll enter text and watch it be pushed to Firebase.
Here's what the working component will look like:
What's going on here?
- Lines 30-32 we setup a controlled input field. An input field is controlled when the value of the input field is continually syncing with state. This enables us to push <code>this.state.text</code> to Firebase.
- Lines 34-38 we push data to Firebase. We invoke
event.preventDefault();to prevent submitting an empty input field. On line 37, we reset our input field value. The functionpushToFirebase(event)is called with anonClickevent.
You can navigate to the Firebase console to confirm that the data was populated.
What we covered in this section:
- Adding Firebase to our
componentWillMount()lifecycle hook. - Creating a controlled input field that continually syncs with state.
- Pushing data to our Firebase database with
this.firebaseRef.push({entry: this.state.text}).
Fetching Data From FireBase
We pushed data to firebase, now how do we retrieve it?
Let's rewrite our componentWillMount() lifecycle function as follows:
componentWillMount() {
    this.firebaseRef = firebase.database().ref("moaningmyrtle/items");
    this.firebaseRef.on('value', function(dataSnapshot) {
      var items = [];
      dataSnapshot.forEach(function(childSnapshot) {
        var item = childSnapshot.val();
        item['.key'] = childSnapshot.key;
        items.push(item);
      }.bind(this));
      this.setState({
        items: items
      });
    }.bind(this));
  };
With dataSnapshot.forEach we loop through the the javascript objects in our database. You can read more about forEach() in the Firebase docs.
Next, we set each entry in our database to var item as follows:
var item = childSnapshot.val();In addition to having a value, each childSnapshot has a key [".key"]. We include the childSnapshot keys in our objects with:
item['.key'] = childSnapshot.keyWe can use these firebase database keys to avoid that pesky Reactjs error message:
Warning: Each child in an array or iterator should have a unique "key" prop.
Finally, we push the item object into an arbitrarily named array called items.
Items will now be an array of objects resembling the following:
var items = [{
  KawNwox9GH8HQmcMg45: {text: 'some text'}
}, {
  KawNxf670d_hgcwSUZ3: {text: 'some more text'}
}];
Printing Data From FireBase
We can display data from Firebase with map.
// we stored our data from Firebase in this.state.items
const items = this.state.items;
// iterate through the array of objects
const records = items.map((items) =>
  <p key={items.key}>{items.text}</p>
);
Putting It All Together
A Working Example
See this github repo.